Creating a hair vine with beads, crystals, gold wire, and leaves is a fun, rewarding project that can be customized for weddings, special occasions, or even as a beautiful everyday accessory. Here’s a step-by-step guide on how to make your own gorgeous hair vine with golden wire, gold leaves, pearls, and crystals.
Materials Needed:
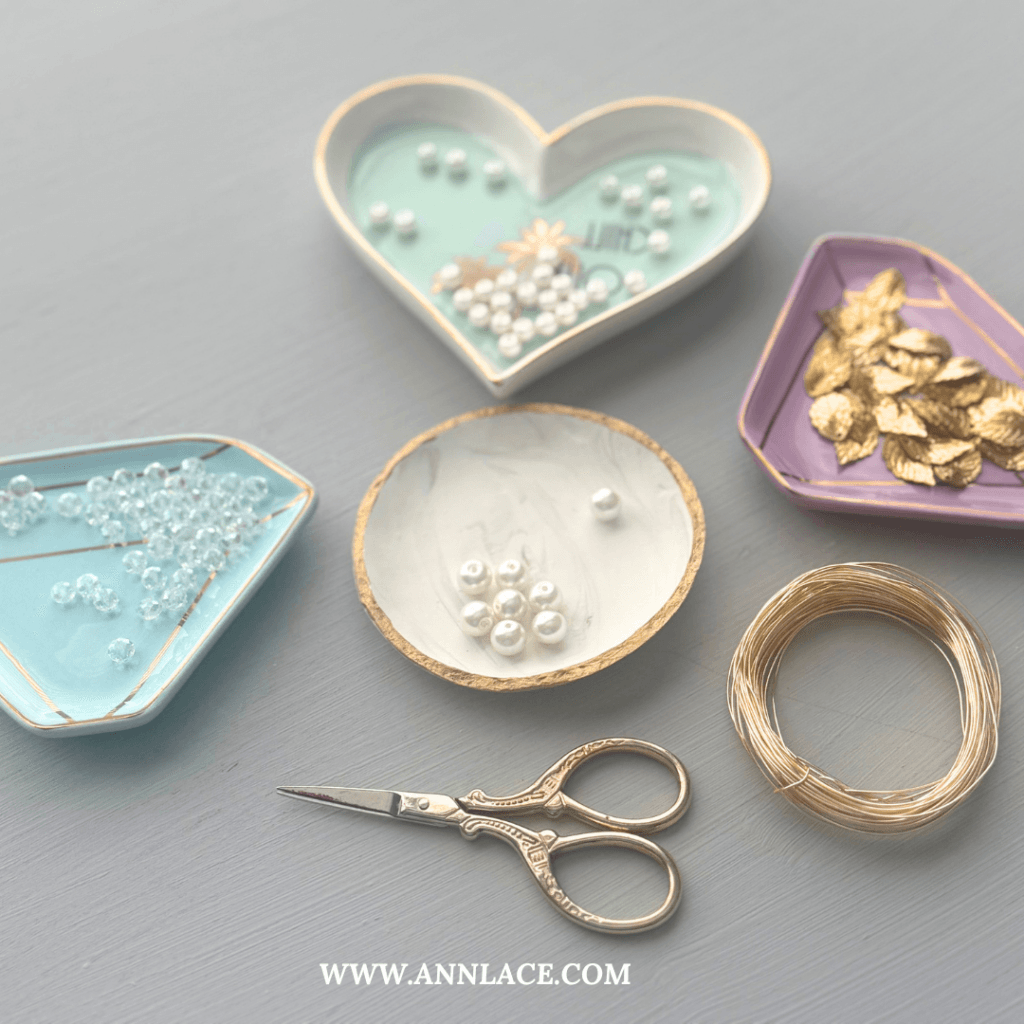
- Jewelry wire (gold) – 26 to 28 gauge for flexibility and strength.
- Gold leaves – Available at craft stores, or you can use small leaf charms.
- Beads and crystals – Pearls, clear or colored crystals, and small glass beads work well.
- Jewelry pliers – Round-nose and cutting pliers.
- Floral tape (optional) – To wrap sections of wire for a polished look.
- Hairpins or bobby pins – For securing the vine in your hair.
Step-by-Step Instructions

Step 1: Cut and Prepare the Wire
- Cut a length of gold wire about 20-30 inches, depending on your desired hair vine length.
- Longer vines work well for bridal or formal hairstyles, while shorter pieces can be added to pins or clips.
Step 2: Begin with the Center Bead
- Start by threading a pearl or crystal onto the wire and centering it.
- Twist the wire around the bead a few times to secure it, creating a sturdy base.
Step 3: Add Leaves and Beads
- Move about 1-2 inches from the center bead, add a leaf or crystal, and twist the wire to hold it in place.
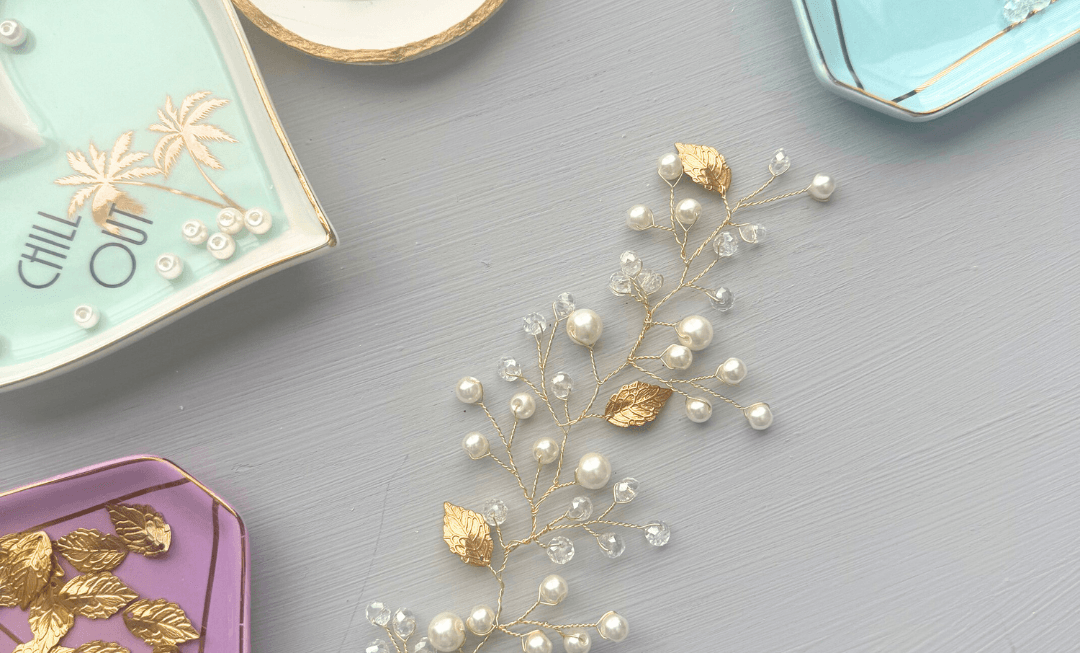
- Continue adding beads and leaves in an alternating pattern to create an organic, balanced look.
- Twist the wire tightly around each element to secure it, creating small branches that will give your vine a delicate, natural appearance.
Step 4: Continue to Build the Vine
- Work your way outwards from the center, adding more beads, crystals, and leaves. Twist the wire in between each addition.
- To create dimension, vary the branch lengths by twisting sections of wire before attaching each bead or leaf. This will make the accessory look fuller and more intricate.
Step 5: Secure the Ends
- Once you reach the desired length, twist the remaining wire tightly at each end to secure all beads and branches.
- You can use floral tape to wrap the ends for added comfort and a clean finish.
Step 6: Shape and Adjust
- Gently bend and adjust the wire branches to achieve a natural shape. Experiment with adding curves for a more organic feel.
Step 7: Attach Hairpins (Optional)
- You can secure the vine with hairpins or attach it to a comb for easier styling.
- Attach by twisting a few inches of wire around the hairpin or comb base, ensuring a secure hold.
Styling Tips
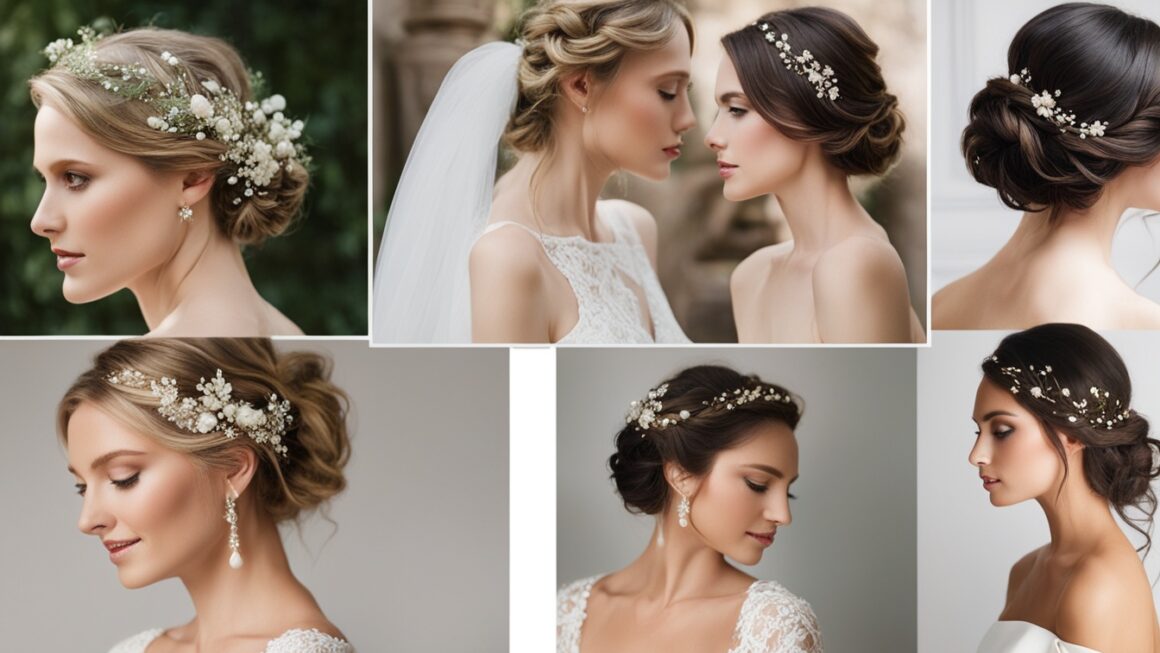
- Hair vines can be woven through braids, wrapped around buns, or positioned along the crown. They’re versatile and work well with both loose and formal hairstyles.
With this method, you’ll create a custom hair accessory that can be tailored to any style or occasion, adding a touch of elegance and sparkle. Enjoy the process and make it uniquely yours!
To wear a hair vine accessory, start by deciding how you want it positioned to complement your hairstyle. For an elegant, loose look, place the vine along the curve of a braid, around a bun, or woven through loose waves, pinning it with bobby pins where needed. For a more formal look, you can wrap it around a low chignon or position it as a crown across the top of your head, fastening the ends securely with hairpins or attaching it to a small comb for added stability. Hair vines are versatile and can be shaped to fit any part of the hair, making them ideal for various styles, whether romantic, bohemian, or chic.


