Unleash your creativity and craft a stunning, one-of-a-kind hair accessory with this comprehensive Hadmade hair vine accessories tutorial. It’s perfect for brides or anyone wanting to add elegance to their look. You’ll learn to make a beautiful handmade hair vine accessories using wire and beads.
This tutorial will guide you from shaping the wire frame to adding beads. You’ll also learn how to customize your hair vine to match your style. With some time and effort, you’ll create a handmade hair accessory that will make you stand out on your big day or any special event.
Dive into the world of DIY hair vine accessories and let your creativity shine. Get ready to craft a stunning hair vine that will elevate your look and leave a lasting impression.
Introduction to DIY Hair Vine Making
Making your own hair vine is both fun and fulfilling. These accessories add elegance and a bit of magic to any look. We’ll look into the charm of making your own hair vine DIY and what you need to get started.
The Beauty of Handmade Hair Vine Accessories
Handmade handmade hair vine accessories bring a special touch that store-bought items can’t match. By making your own hair vine, you add your unique style and creativity. This makes a piece that truly shows who you are. Whether you like simple designs or something more complex, making your own hair vine DIY is a unique experience.

Materials Needed for the Project
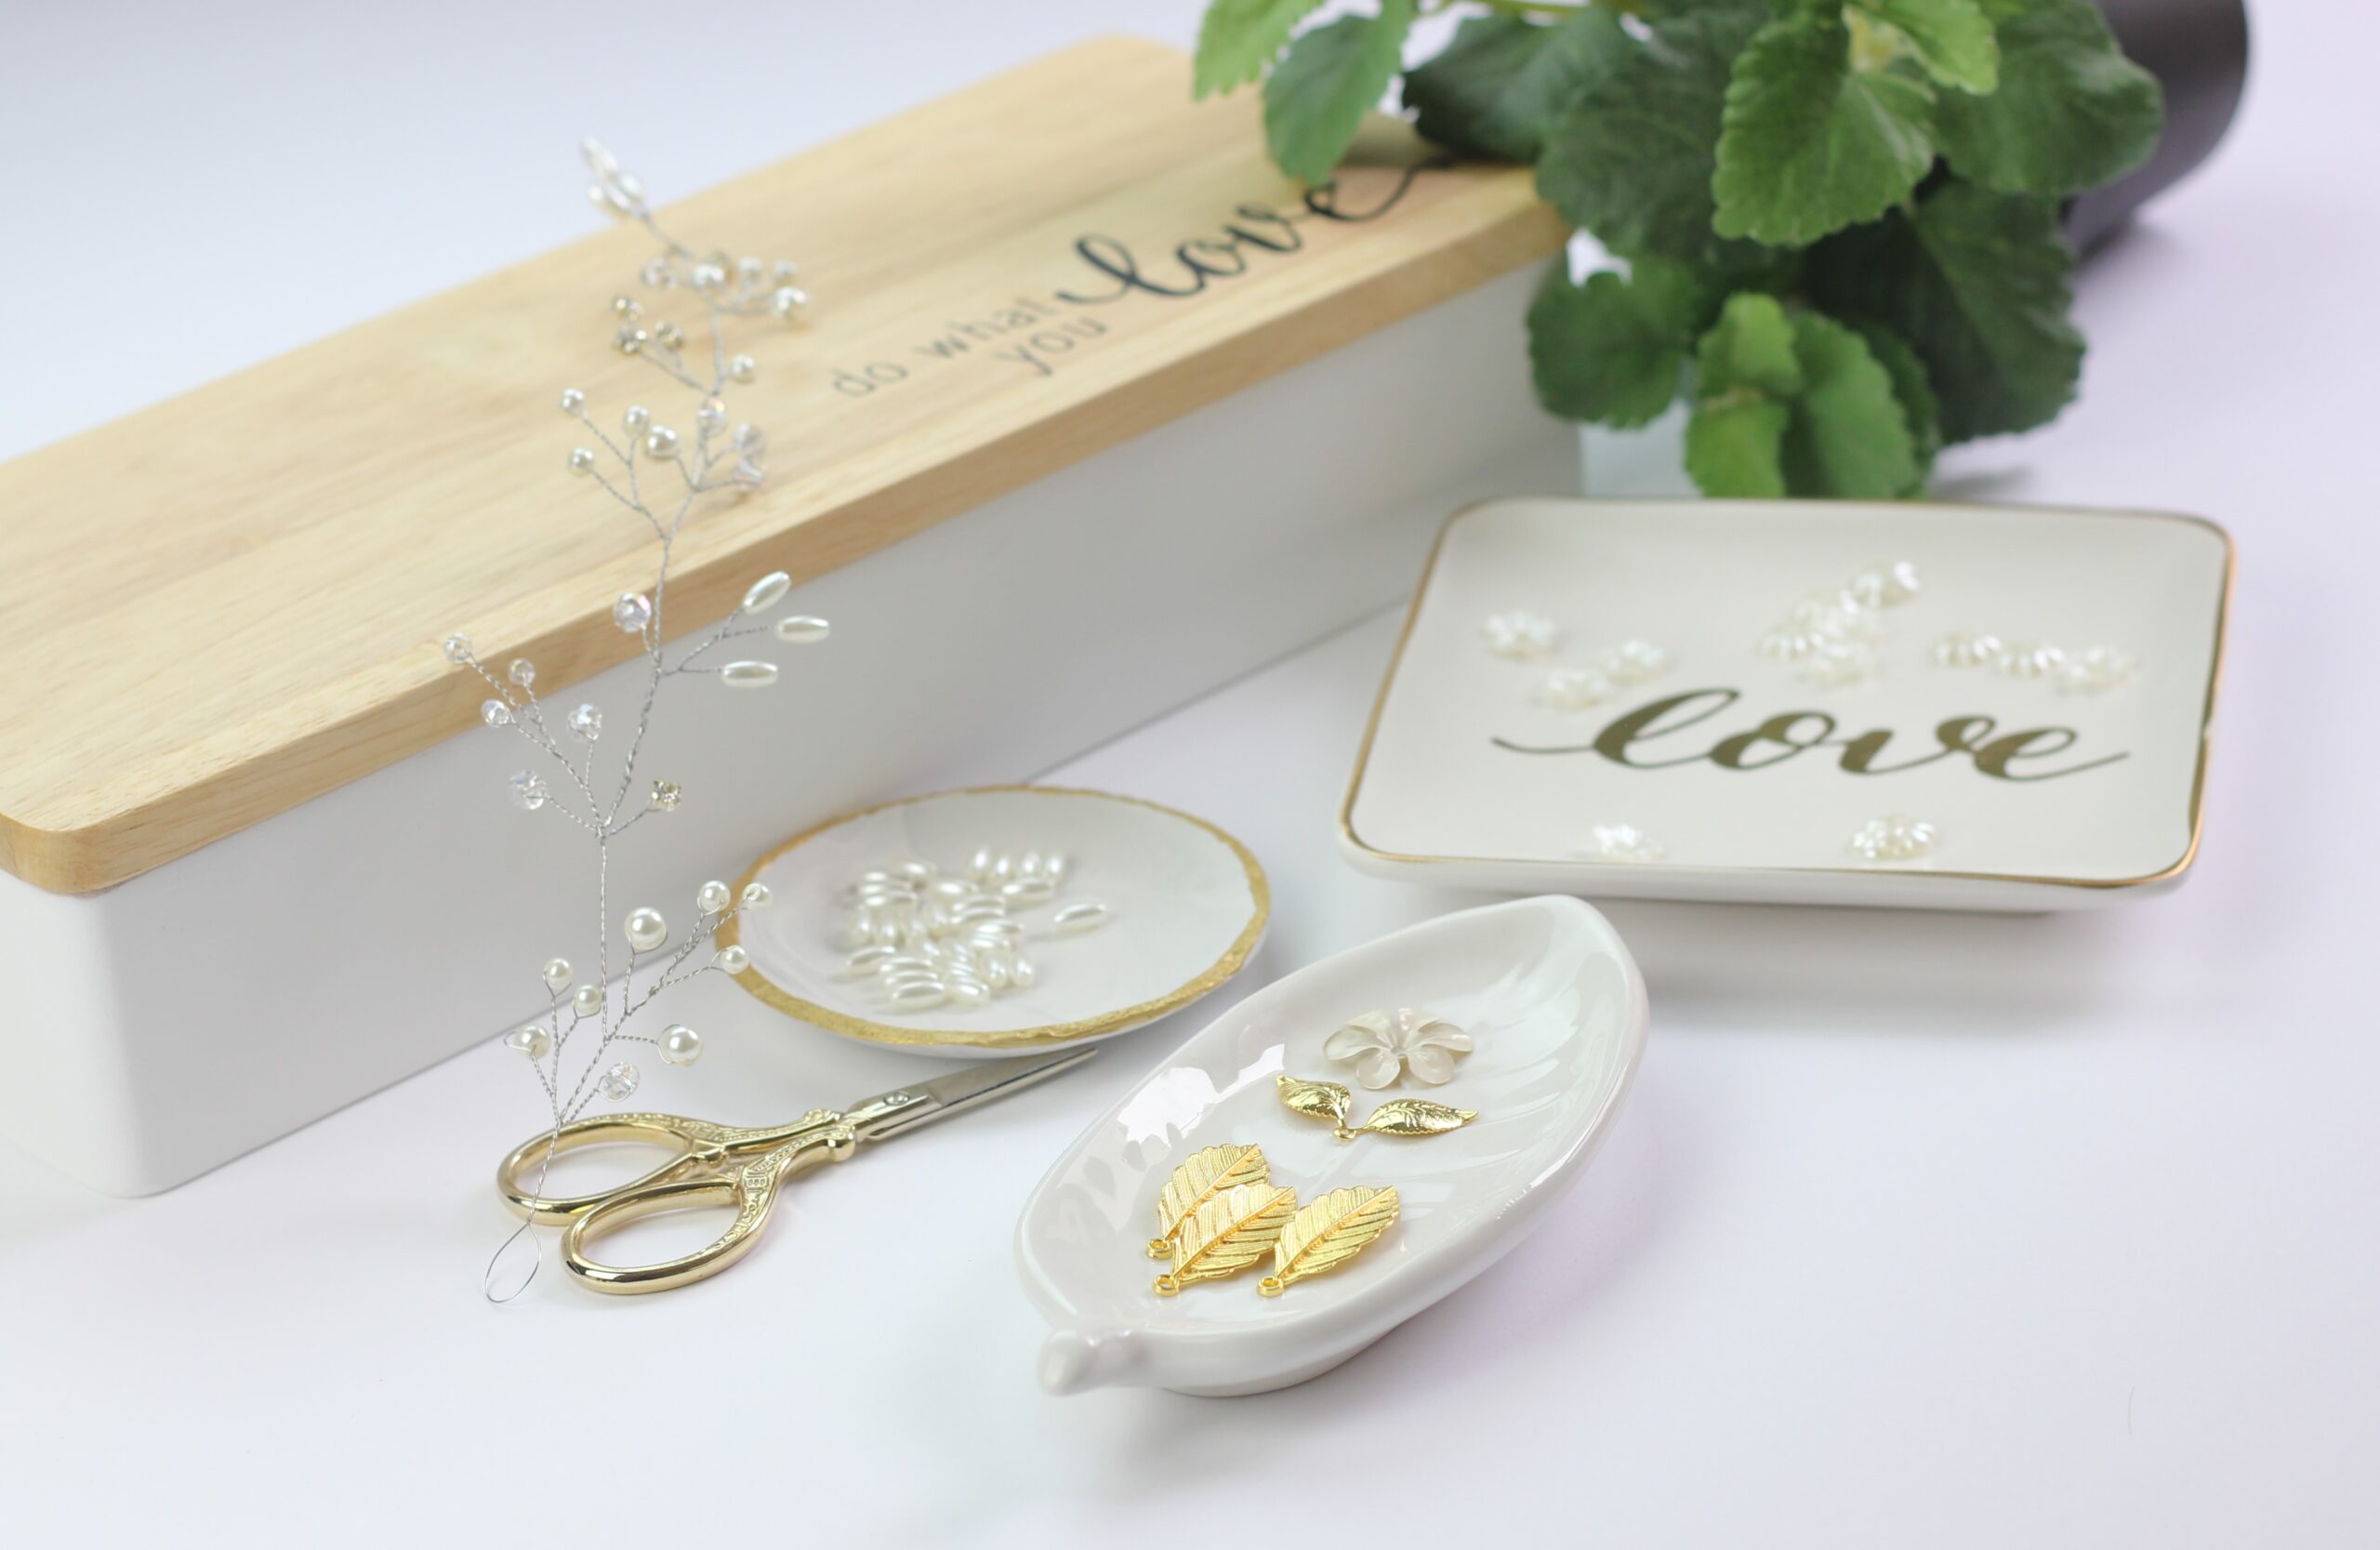
To start your hair vine accessories DIY project, you’ll need some basic supplies. Here are the key items for a beautiful wire and bead hair piece:
- Flexible wire (like jewelry or floral wire)
- Different beads in your favorite colors and shapes
- Pliers for shaping the wire
- Scissors
- Glue or jewelry adhesive (optional)
With these simple materials, you’re ready to make a stunning hair vine DIY. It will make your hairstyle stand out and catch everyone’s eye.
⭐️$100 coupon bundle 💰 https://temu.to/m/u9v7w0c50ef
Rhinestones eye shape 6 mm – http://ali.pub/28h77g
Pearl beads https://temu.to/m/uce21d8wb5v
Crystal Beads: https://temu.to/m/u5yzz4usbvg
Crystal beads 4 mm https://temu.to/m/uy7bbtb1xyo
Wire 28 gauge https://amzn.to/4dARUaA
Leaves https://temu.to/m/u98vn8n82jd
Seed beads https://temu.to/m/ueixyx26idc
Bobby pins https://temu.to/m/uh2u87xxut9
Scissors: https://temu.to/m/uovu5f1bpu3
Scissors https://temu.to/m/upu6dbhf8s6
Ceramic small plates: https://temu.to/m/u54y6ug2r6b
Ceramic small plates: https://temu.to/m/uvoo2tbixjl
White flower beads: https://temu.to/m/uvqbj798me5
Pearl Leaves: https://temu.to/m/uapmrbrybwf
Flower Beads: https://temu.to/m/uslrp50y7l3
Gold Leaves: https://temu.to/m/uvru4jmsjwx
Leaves: https://temu.to/m/udbpsvrdxvv
Golden Leaves : https://temu.to/m/u7ikr5wddcs
10 Video Tutorials Handmade Hair Vine Accessories
Preparing the Wire and Beads
Before starting your DIY hair vine project, make sure to prepare the wire and pick the right beads. This step is key to creating a beautiful, lasting hair accessory that shows off your creativity.
Wire Preparation for Hair Vine
Choose wire that’s flexible but strong for your hair vine. Go for materials like copper, aluminum, or annealed wire, which are easy to shape and keep their shape. Straighten the wire and get rid of any kinks or bends. This makes sure your creation has a smooth base.
Bead Selection for Handmade Hair Vine
The beads you pick can really change how your hair vine looks. Look at different bead materials, sizes, and colors to find the perfect match for your style. Great choices for DIY hair vine materials include glass beads, pearls, crystals, and semi-precious stones.
- Think about the size and shape of the beads to make sure they fit well on the wire.
- Pick beads with bigger holes to make threading and securing them easier.
- Try out different textures and finishes to add more interest to your hair vine.
By preparing the wire and choosing the right beads, you’re setting up for a unique, eye-catching hair accessory that shows off your style.
Creating the Basic Wire Frame
FREE HAIR VINE PATTER DOWLOAD
We’ll look at how to make the wire frame for your hair vine. This frame is key as it holds the beads and decorations. Learning to shape wire lets you make a hair vine that looks great and feels good to wear.
Techniques for Shaping the Wire
For making a hair vine wire accessory frame, knowing how to shape wire is important. These skills help you turn the shaping wire for hair vine into the right shape. They also make sure the forming wire base for hair vine is strong and lasts long.
- Begin with a wire that’s flexible but strong, like craft or jewelry wire. Sizes 16-18 are great for hair vines.
- Use pliers to bend and shape the wire. Make curves and loops that look like the hair vine’s natural flow.
- Try making different shapes, from simple spirals to complex patterns. Change the coil size and tightness to get the look you want.
- Focus on the wire’s tension and balance. Make sure the hair vine wire frame is strong but flexible for comfort.
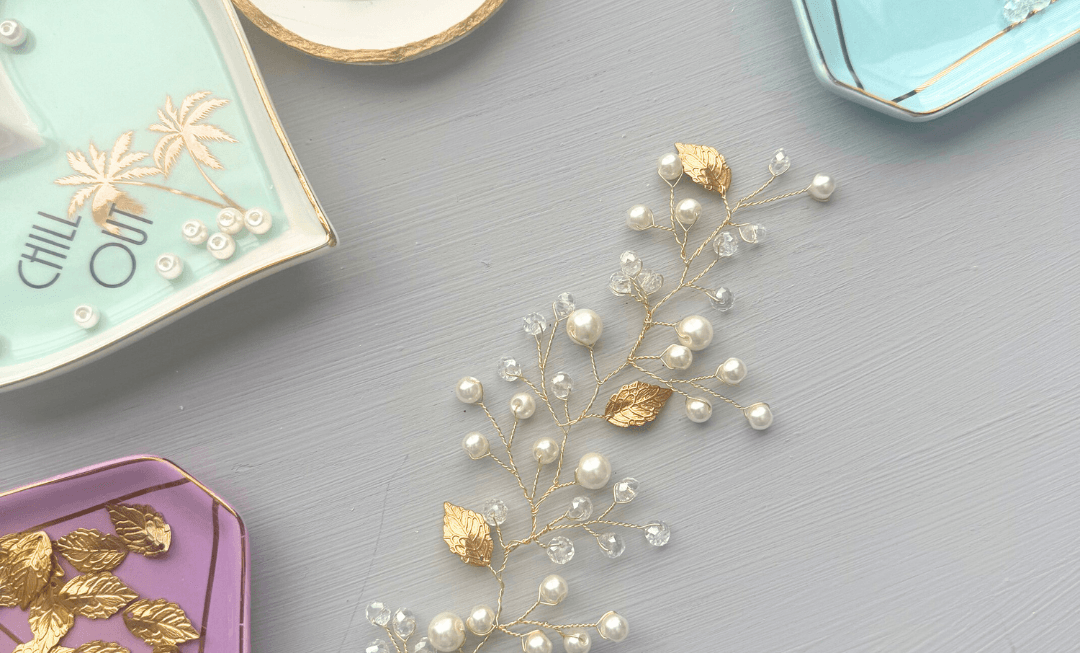
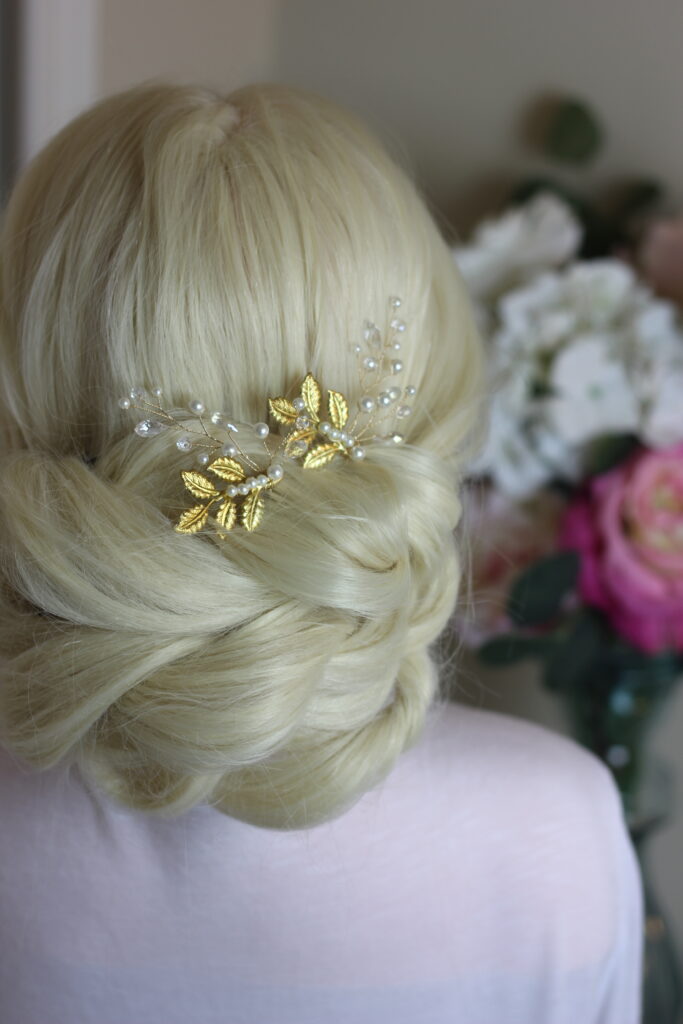
- Use this image as a guide to shape your wire into the perfect hair vine base.
With patience and practice, you’ll get good at making a beautiful hair vine accessories wire frame. This will be the base for your unique hair accessory.
Adding Beads to the Wire Frame
Adding beads to a DIY hair vine accessories is fun and creative. It lets you turn a simple wire into a beautiful accessory. You can choose from delicate or bold designs. Just think about where and how to place the beads carefully.
Tips for Securing Beads Effectively
It’s important to secure the beads well for a lasting hair vine. Here are some tips to remember:
- Use a versatile beading wire that bends easily and holds the beads tight.
- Try different ways to place the beads, like spreading them out or grouping them. This will give your hair vine the look you want.
- Wrap the beading wire around the main wire a few times to make sure each bead stays put.
- Use glue or sealant on the beads after placing them. This adds extra security and keeps them from moving.
With these tips, you can make a hair vine that looks great and lasts long. You’ll be able to enjoy your DIY accessory for many years.
How to Make Hair Vine Accessory from Wire and Beads DIY Tutorial
Making a beautiful hair vine with wire and beads is a fun DIY project. It lets you create a special hair accessory. We’ll show you how to make a hair vine from scratch step by step.
First, gather your materials: wire in a color you like and various beads. The beads you pick should match your style and the look you want for your hair vine.
- Begin by bending the wire into a flowing curve. This curve will be the base of your hair vine. Try out different shapes and lengths to match your hairstyle.
- Start adding beads to the wire, securing them with small bends or loops. Play with where you place the beads to make a design you like.
- Keep adding beads to the vine, placing them carefully to look balanced and nice.
- When you’re happy with your vine, use pliers to fix any last details and keep the beads in place.
A DIY hair vine is special because it’s unique. Don’t be afraid to try out different wire and bead styles to make a hair accessory that shows off your style.
With creativity and patience, you can make a beautiful wire and bead hair vine. This will add elegance to any hairstyle. Enjoy the step-by-step hair vine DIY process and show off your artistic side!
Embellishing with Additional Beads and Gems
Take your handcrafted hair vine to the next level by adding beads, gems, and other decorative elements. These can turn your creation into a true showstopper.
Decorating your hair vine with beads and gems lets you make it uniquely yours. You can use everything from delicate pearls to shimmering crystals. Try different bead shapes, sizes, and colors to get the look you want.
To decorate hair vine with beads and gems, use various techniques. You can wrap the beads around the wire or secure them with small wire loops. Play with patterns like symmetry or asymmetry for a unique look.
Don’t hesitate to customize hair vine design with unique elements. Add delicate flower petals, intricate lace, or shimmering sequins for a special touch. These can make your hair vine a true masterpiece.
Try different techniques and materials to find your signature style. The fun of making a personalized hair vine is in adding your own flair. It becomes a reflection of your taste and creativity.
Finishing Touches and Securing the Handmade Hair Vine
As you finish your DIY hair vine project, it’s time to add the final touches. These steps will make sure your hair vine looks professional and ready to wear. They’ll give you a polished look that boosts your confidence.
Securing the Hair Vine
To keep your finishing hair vine in place, follow these steps:
- Use small wire loops or tiny hair clips to attach the ends of the wire frame to your hairstyle.
- Gently twist the excess wire around the base of the hair vine to tidy up any loose ends.
- Apply a small amount of strong-hold hairspray or styling gel to the securing hair vine to further stabilize it.
Final Touches
Add the finishing touches to your finishing techniques for hair vine by:
- Fluffing and arranging the beads and wire for a natural, flowing appearance.
- Gently bending the wire frame to create soft, graceful curves that complement your hairstyle.
- Applying a light mist of hairspray to the entire hair vine to hold it in place.
With these final steps, your DIY hair vine is ready to be the stunning centerpiece of your hairstyle. Enjoy the confidence and beauty that comes with wearing your one-of-a-kind accessory.
Styling and Wearing Your Handmade Hair Vine
Creating a DIY hair vine lets you add it to many hairstyles. It can be the star of your look, bringing elegance and a personal touch. Here are some ways to style and wear your handmade hair vine.
Hair Vine Styling Ideas
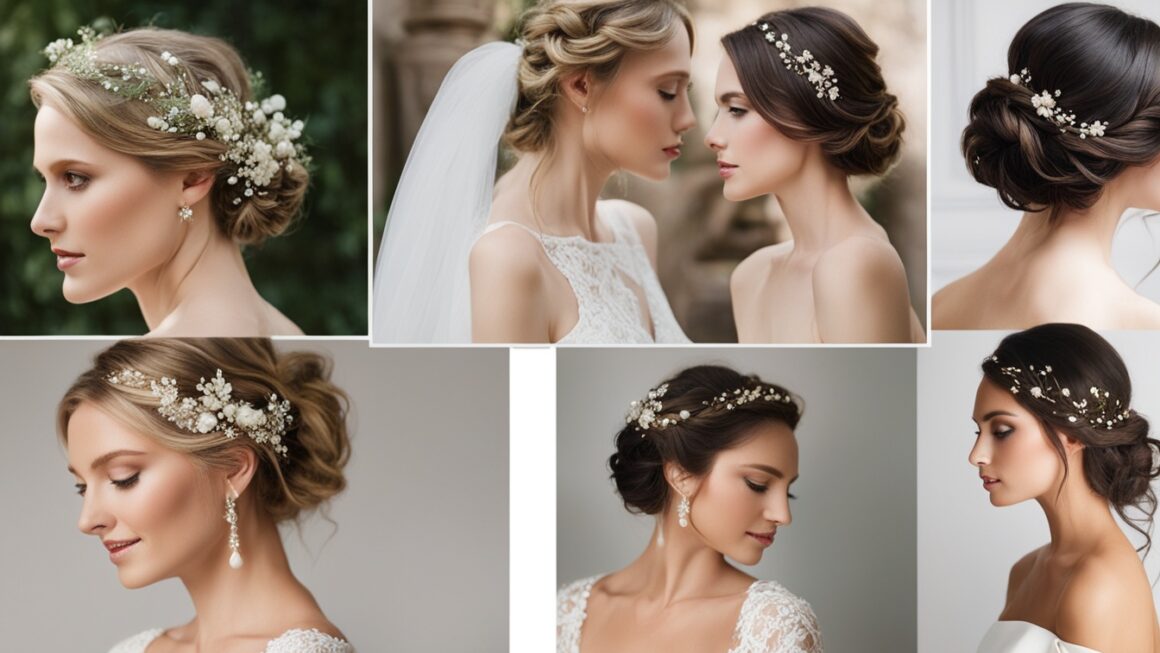
A hair vine is versatile, letting you try out different hairstyles and spots. Here are some ideas to get you started:
- Elegant Updo – Put your hair vine along the crown or bun of an elegant updo. This lets the wire and beads frame your face beautifully.
- Bohemian Braids – Add your hair vine to a loose, romantic braid. It’s perfect for outdoor weddings or festivals.
- Side-Swept Waves – Put your hair vine just above the ear. Let it flow down one side of your head with soft, flowing waves.
- Half-Up, Half-Down – For a whimsical look, secure your hair vine at the crown. Let the rest of your hair fall around your shoulders.
- Headband-Style – Use your hair vine as a decorative headband. You can tuck it behind your ears or let it frame your face.
Remember, the key is to experiment. Find the styling techniques that highlight your handmade hair vine. They should match your style and the event.
Customizing Your Handmade Hair Vine Design
Let your creativity shine and make your hair vine unique! Whether you want a bold statement or to try new bead colors and shapes, this guide will help. You’ll learn how to make your hair vine stand out.
DIY handmade hair vine projects let you show off your style. With imagination and the right materials, you can turn a simple wire into a beautiful, personalized hair vine. It will show off your unique taste.
Experiment with Bead Variations
Begin by checking out different beads. Mix colors, sizes, and shapes for a unique look. Add beads with special features like metallic finishes or iridescent effects. This will make your customizing hair vine project pop.
Incorporate Additional Elements
Add more to your DIY hair vine design for extra flair. Think about using:
- Delicate flowers or greenery
- Crystals or gemstones
- Charms or pendants
- Ribbons or lace accents
These extras can turn your hair vine into a unique piece that shows off your style.
The secret to a personalized handmade hair vine is to be creative. Try out different materials and arrangements until you find the look that boosts your confidence.
Caring for Your DIY Hair Vine Accessories
To keep your handmade hair vine looking great, follow some simple steps. Start by cleaning it with a soft, damp cloth. Make sure not to soak it in water, as it could harm the materials.
For tough dirt, use mild soap and lukewarm water. Then, dry it with a clean towel.
When storing your DIY handmade hair vine, keep it in a cool, dry spot away from sunlight. This keeps the wire and beads shiny. Store it in a soft pouch or box to avoid tangles or bends.
By taking care of your handmade hair vine, it will stay beautiful for many years. Follow these easy tips to keep your DIY hair vine looking great for all your special moments.